Mastering the Art of Photography Composition for Beginners: Knowing When to Break the Rules
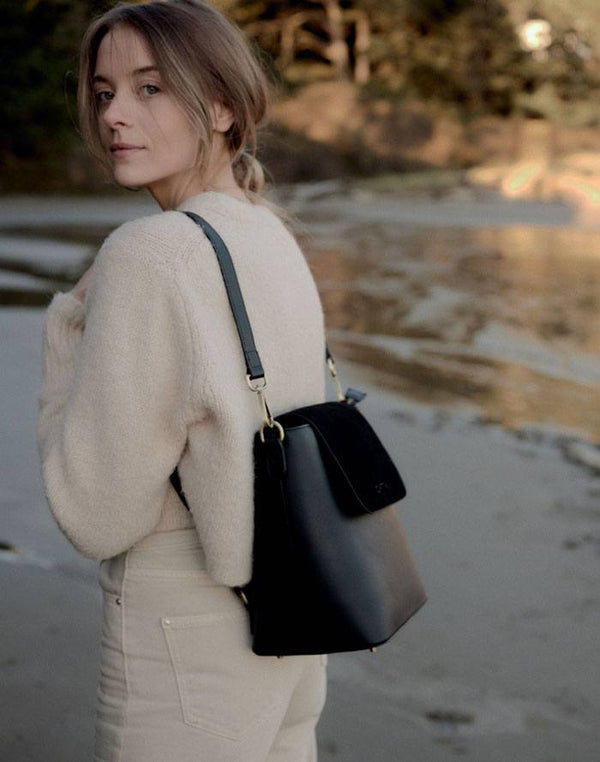
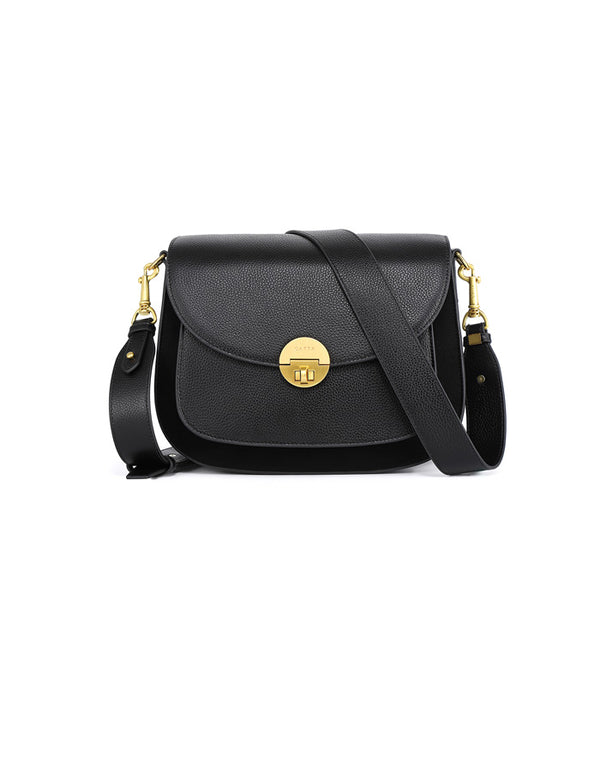
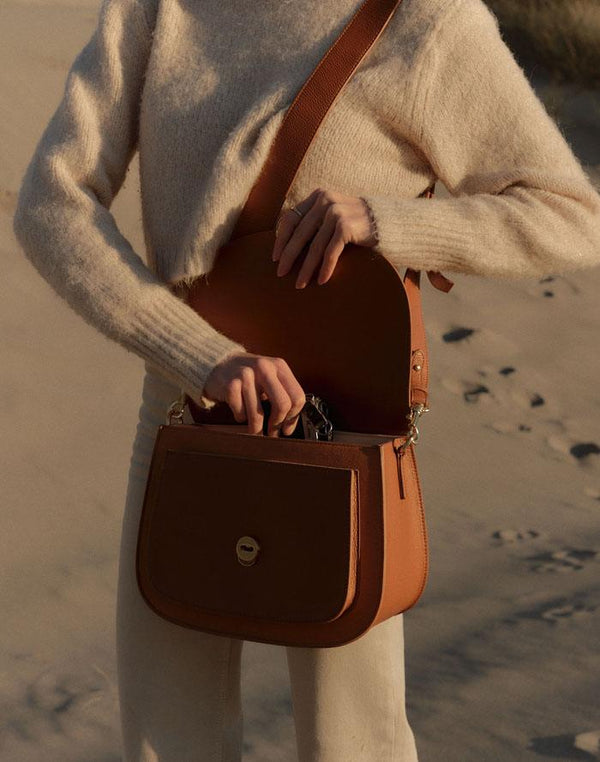
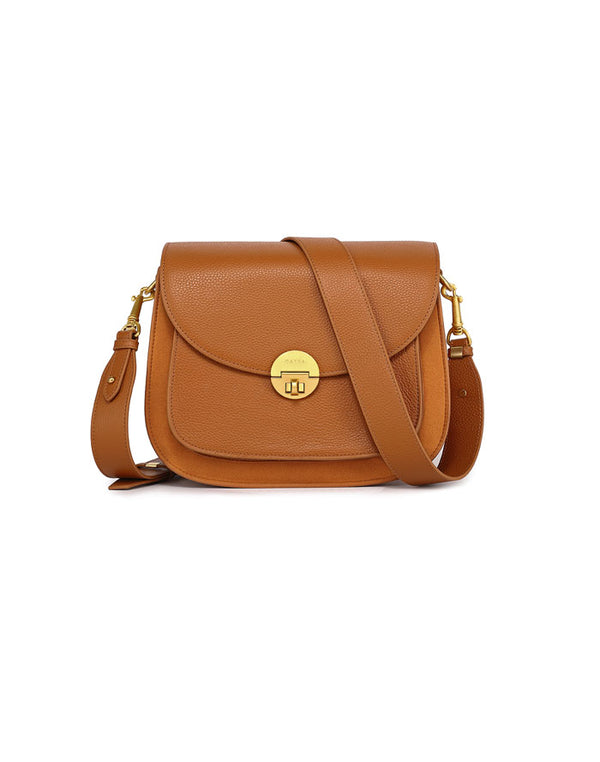
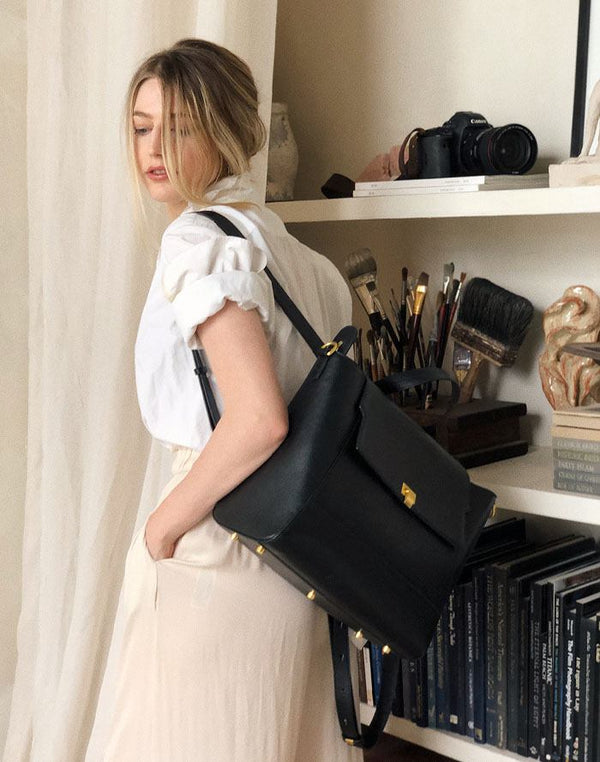
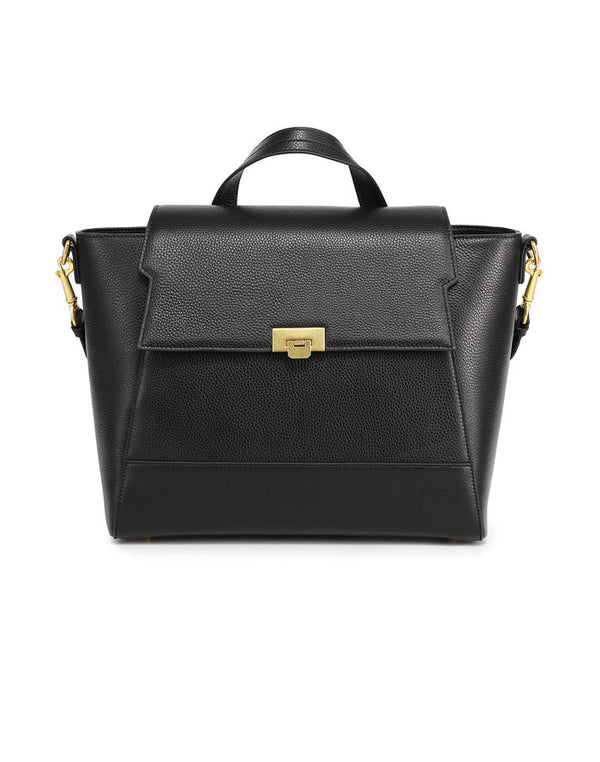
When you start out as a beginner photographer, how to compose your images wouldn’t the first thing on your mind. There is so much else to figure out, like what sort of photography gear you need, learning how to operate your camera, or even deciding what kind of camera bag you need - check our collection of chic camera bags.
The thing about photography composition is, your photos will improve so much once you start thinking about it. So, we’ve put together a guide on photography composition for beginners to help get you going.
We’ll talk you through five simple techniques for framing your photos in ways that will make them much more interesting to your viewers. And just for fun, we’ll look at when you might ignore those techniques to capture some quite different – and still remarkably interesting – images.
Keep the horizon… horizontal!

Our brains are wired to think of the horizon as horizontal. The name gives it away, right?
When you look at the horizon in the real world, it doesn’t matter how much your head is tilted. Your brain will always consider the horizon to be level.
Seeing a photo in which the horizon is not level is a lot like reading a great novel only to find a typo: It takes you out of the story or – in the case of photography – distracts you from what the photographer is trying to show you.
So, here is one of the most basic and important compositional technique in photography: When you’re snapping photos, make sure the horizon is level.
What about when there is no straight, flat horizon to go by? Look for other things to use as a guide instead. As an example, trees and buildings tend to stand vertically. As long as vertical objects are vertical in the viewfinder – especially in the center of the image, where there is little distortion – your images will still come out looking nice and level.
If you want to get more precise, you can always carry a hot-shoe spirit level in your Gatta Bag. Pop the level in the flash hot shoe when photographing and you’ll always know if your camera is level.
Of course, rules are there to be broken.
The deal with keeping the horizon level is to make your viewers comfortable and not take away attention from the story in your images.
When a photo appears unleveled, your viewers will feel uneasy and off kilter. If that’s what you’re aiming for, the technique known as the ‘Dutch angle’ is your friend. The Dutch angle is used – sparingly – by film makers to instill a sense of unease and disorientation in audiences.
Photographers can apply the same technique. We find that it works great for street photography and dynamic scenes with lots of action and depth. So, experiment! Shoot at an angle and see how your photos turn out.
The rule of thirds
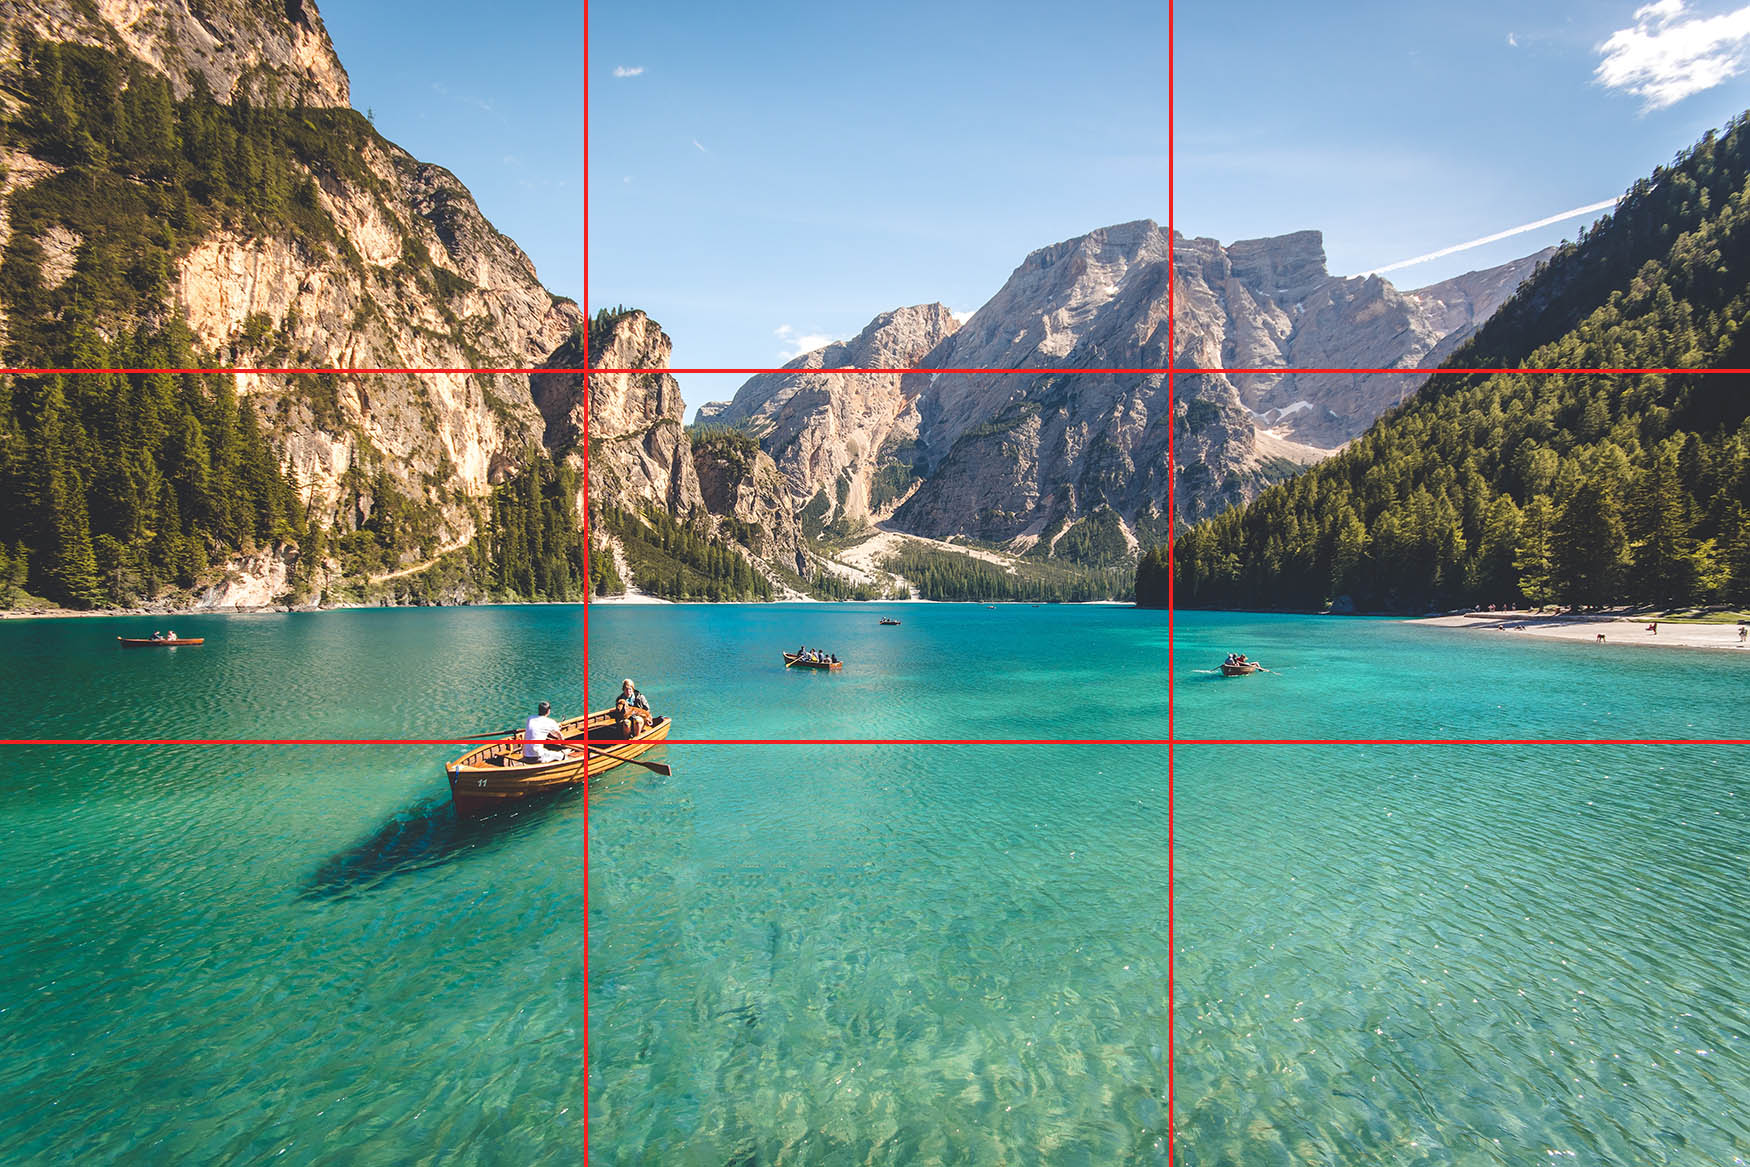
Aside from a level horizon, the easiest technique for composing a nice-looking photo is the rule of thirds. The basics of this technique are to place the subject and other key details one-third into the photo, and to place the most important detail where two lines of thirds intersect.
Thankfully, most digital cameras – including smartphones – come preloaded with a grid of thirds, which can be overlaid on top of what you see in the viewfinder or on the screen.
Once you switch the grid on, your photo will look like a tic-tac-toe game and you’ll know exactly where one-third into the photo is. Next, just frame your photos in such a way that key details are on those lines and – ideally – where two lines cross each other.
As an example, we tend to look at the eyes of a person before anything else. So, when photographing people, placing the subject’s eyes along one of the horizontal lines will make for a great shot. If you’re photographing a couple, try composing the photo such that each person’s face is on the vertical lines while their eyes are on the top horizontal line.
In landscape photography, place the horizon along one of the two horizontal lines of thirds and the most interesting part of the image along one of the vertical lines. This will result in a well-composed and more interesting photo.
If you’re looking to break this rule, our number one tip is to break it properly. If it looks like you just forgot about the rule of thirds, your photos may end up looking sloppy rather than interesting. So go big or go home: Experiment with placing your subject right in the middle of your shot to portray a feeling of calmness and balance. Or try placing your subject much closer to one of the bottom corners to make them seem small and insignificant.
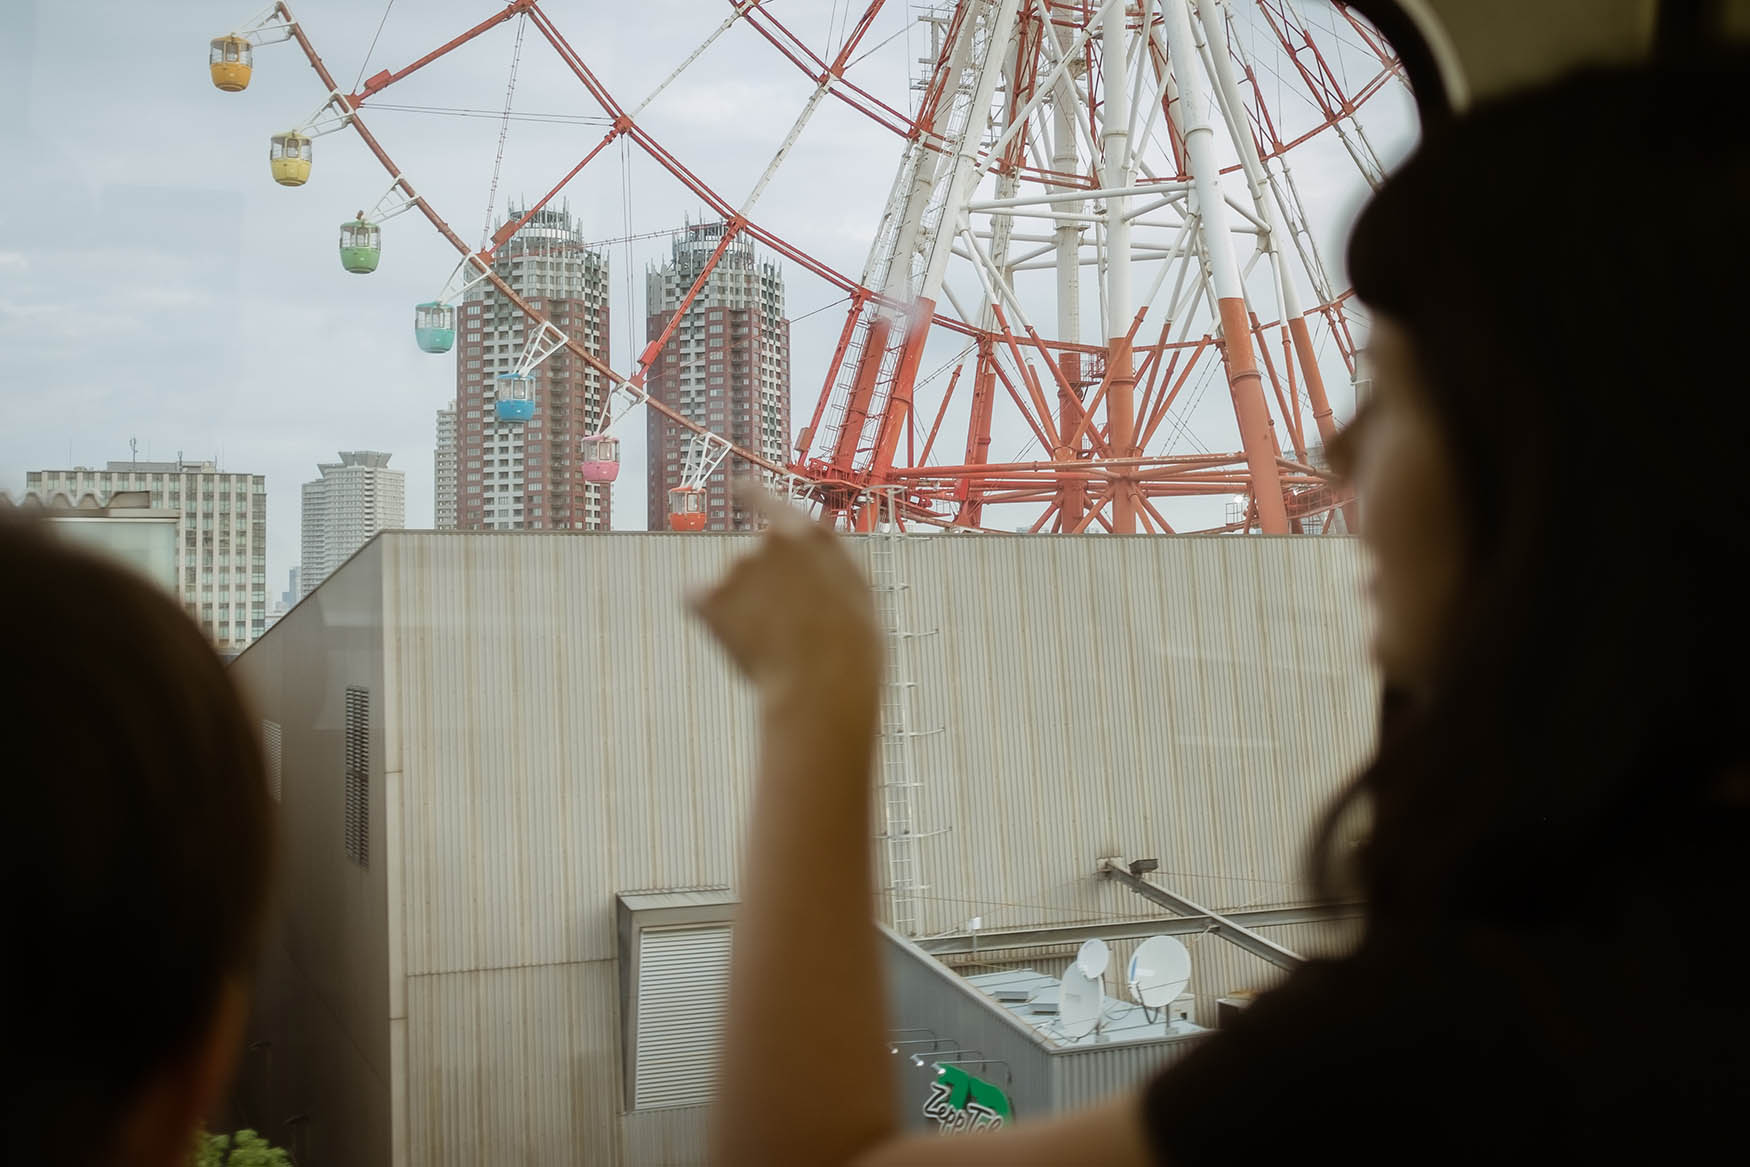
Create depth

Humans are great at perceiving depth. This is in part thanks to us having two eyes, meaning we can see in three dimensions. But we are actually really good at sensing depth even when we see just two dimensions – like when closing one eye or when looking at a photograph. Images that convey a sense of depth will draw viewers in, making them feel like they’re looking through a window at a perfectly three-dimensional scene.
One of the most important things our brains use to interpret depth from two dimensions is converging lines. You can use this to your advantage when composing photos.
Converging lines – in other words, two or more lines that meet or come close to meeting somewhere in the distance – will draw the viewer’s attention into the photo. Imagine looking at a photo of a long, straight road, where the photographer is standing in the middle of the road: The pavement appears narrower the further away it is, and your eyes are drawn in that direction, giving you a good sense of depth.
You can also use leading lines to direct your viewer’s attention to the main subject of the photo. As an example, imagine the same long, straight road, but add in a person walking down the road. Position yourself in a way that the converging lines point straight at that person and snap away. Your viewers’ eyes will go straight where you want them.
Of course, you don’t always have to snap photos with lots of depth. It’s time to break the rules again!
Flat photos can be just as impactful. Have you tried shooting silhouettes? The whole point of silhouette photography is to show distinctive shapes that are interesting enough to grab the viewer’s attention even in two dimensions.
It’s a similar story with minimalist landscape photography: you need a strong subject and no clutter to distract the viewer’s attention. Imagine a single tree in a snow-covered field with nothing but white sky in the background. It’s possibly the most stereotypical minimalist landscape photo you can think of. And it looks great even though there is no sense of depth.
Simplicity

All this talk of minimalism leads nicely into our fourth beginner’s technique for composing photographs: Focus the viewer’s attention by leaving negative space around the subject.
In photography, negative space is any area of a photo that doesn’t attract much attention. It’s the opposite of positive space, or the parts of an image that demand the viewer’s attention.
You can use this concept to your advantage when composing photos. Leave negative space around your subject to focus the viewer’s attention right where you want it.
There are a few ways you can do this. Try framing the subject against a plain background, such as the sky, water, or even a background that is either overexposed or underexposed. Another technique is to minimize the field of depth by shooting at a wide aperture. This will result in a blurry background with minimal details to distract from the subject.
A good place to start experimenting with this concept is to aim for twice as much negative space as positive space. This is not a fixed rule. You can play on your viewers emotions by varying the amount of negative space in your images. More negative space can result in scenes that look calm, peaceful, quiet, or even desolate.
You could also do the exact opposite of what we just told you. Instead of leaving lots of negative space, remove distractions by having your subject fill the entire frame. The result will be the same: simplicity.
Rule of space
The last photography composition technique we’re going to cover is the rule of space. Put simply, you should add more visual space in front of your subject than behind it. In other words, have your subject look, move, or point into the photograph. This helps direct the viewer’s eye into the photo and gives them a sense of where the subject is heading.
If you’re snapping a photo of runners, frame the photo so that they appear to be running into the photo rather than out of it. It’s the same with portraits: if your subject isn’t looking straight at the camera, leave more space in the direction they’re looking.
For extra effect, combine this technique with negative space and the rule of thirds for some potentially stunning photographs. Or, you can flip the script on purpose and have your subject facing out of the photo. This can give viewers the impression that your subject is feeling alone and out of place or – in the case of someone running – that they are leaving in a hurry.
Wrapping it up
Hopefully, this guide to photography composition for beginners has given you some inspiration and interesting ideas for how to take better images.
Of course, we don’t expect you to remember and apply these techniques all at once. So, next time you head out with your camera, try to focus on just one technique for the entire outing. Then, pick another technique to practice on your next adventure. Before you know it, you’ll be pulling off all five techniques at once and your photos will look miles better.
Did you find this guide useful? We’d love to hear from you in the comments.